Framer has become one of the most popular no-code website builders for designers, freelancers, and startups who want to launch visually stunning websites fast. The best part? You don’t need to know how to code. With ready-made Framer templates, you can design and publish your site in just a few hours. In this guide, you’ll learn how to edit, customize, and make a Framer template truly your own.

Using a Framer template gives you a massive head start. Instead of starting from a blank canvas, you get a fully structured layout designed by professionals.
Here’s why templates are a game-changer:
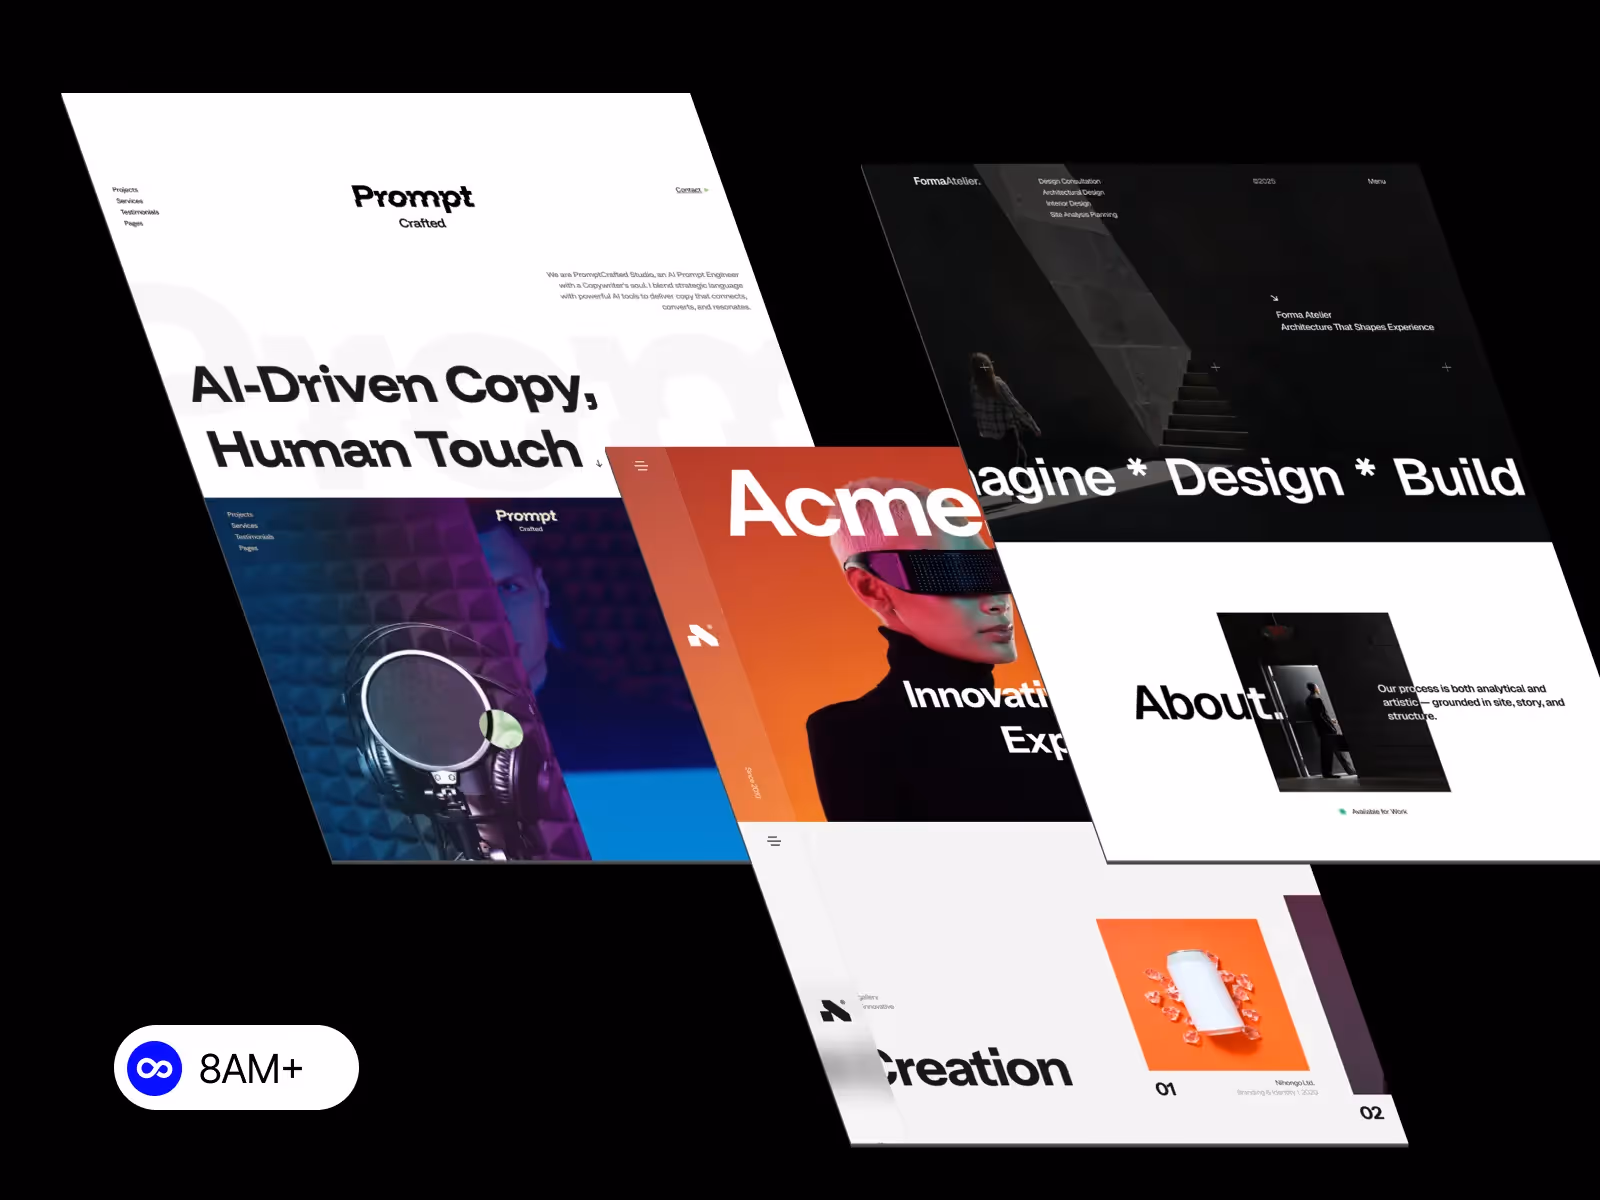
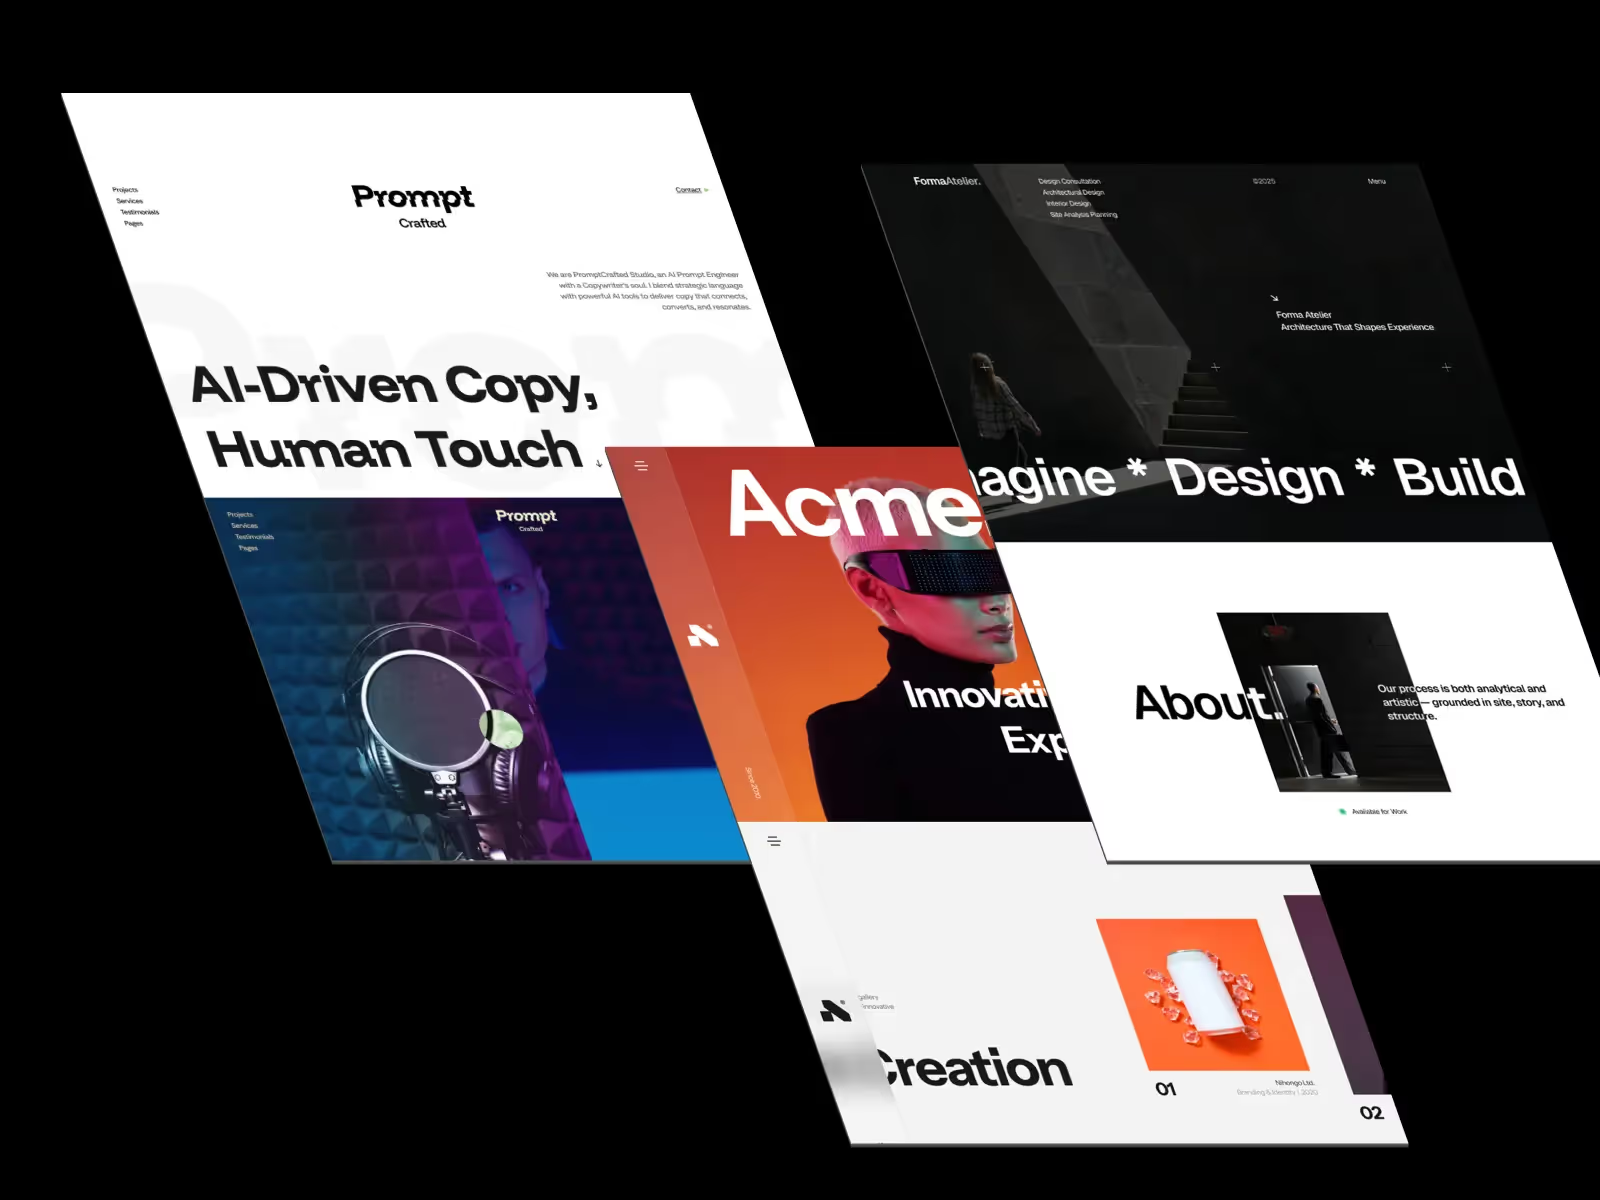
💡 Tip: Check out premium Framer templates from 8am.design — built for portfolios, startups, and creative agencies.
You now have your own editable copy of the template.
Before editing, familiarize yourself with the workspace:
Everything is drag-and-drop, so you can edit text, replace images, and rearrange sections easily.
Here’s a step-by-step approach to make your Framer site match your brand:
Double-click any text to edit directly on the canvas. Replace placeholder text with your real titles, descriptions, and CTAs.
Click on any image block → Upload your own → Adjust fit or crop.
Use high-resolution, compressed images for faster load times.
Select an element → Adjust the color palette and typography under the Properties panel.
💡 Pro Tip: Use your brand’s color palette and font style for a cohesive look.
Use Insert → Sections to add pre-built blocks like testimonials, pricing, or contact forms.
You can also duplicate existing sections for visual balance.
Framer is known for its beautiful motion design. You can:
All animations are accessible under the Motion tab—no coding needed.
Once you’re satisfied with your design:
Framer handles hosting, optimization, and SSL automatically.
Your Framer website can evolve as your business grows:
Editing and customizing a Framer template is simple, visual, and fast. Whether you’re a creative freelancer, agency, or startup, you can design a professional-looking website without writing a single line of code.
Start your next project with a beautifully designed Framer template from 8am.design — and launch your website today.


.svg)
.svg)