Summary: How to Set Up CMS Collections in Webflow for Beginners If you’re new to Webflow, learning how to set up CMS Collections is one of the most powerful skills you can master. CMS (Content Management System) allows you to manage and display your content dynamically — meaning you can design once and reuse it for multiple pages like blogs, portfolios, or case studies. Instead of creating a new page for every project, you can store your data inside a Webflow CMS Collection. Each collection acts like a database filled with your content — titles, descriptions, images, and links. Once connected to your layout, Webflow automatically updates your site whenever you add new items.
If you’ve ever wondered how websites manage to update blogs, projects, or portfolios without editing every single page manually — the secret is the CMS Collection feature in Webflow.
A CMS (Content Management System) lets you store and display content dynamically, which means you can design once and reuse that structure for multiple items — like blog posts, team members, or portfolio projects. Perfect for designers and creators who want flexibility without coding.
Think of a CMS Collection as a database inside Webflow. Each “collection” is a group of similar content types — for example:
Each item inside the collection holds fields like title, image, description, date, and links — just like rows in a spreadsheet.
Now you can start adding your content — Webflow will store everything automatically.
Open a page (like your Portfolio page), drag a Collection List, and connect it to your new CMS Collection. You’ll instantly see your items appear! You can style them freely — change layout, typography, or animation — and Webflow will dynamically update all items.
Once your design looks great, hit Publish. Now every time you add a new project or blog post in the CMS, Webflow automatically updates your live site.
That’s it! You’ve just built your first dynamic portfolio site with Webflow CMS — no coding required.
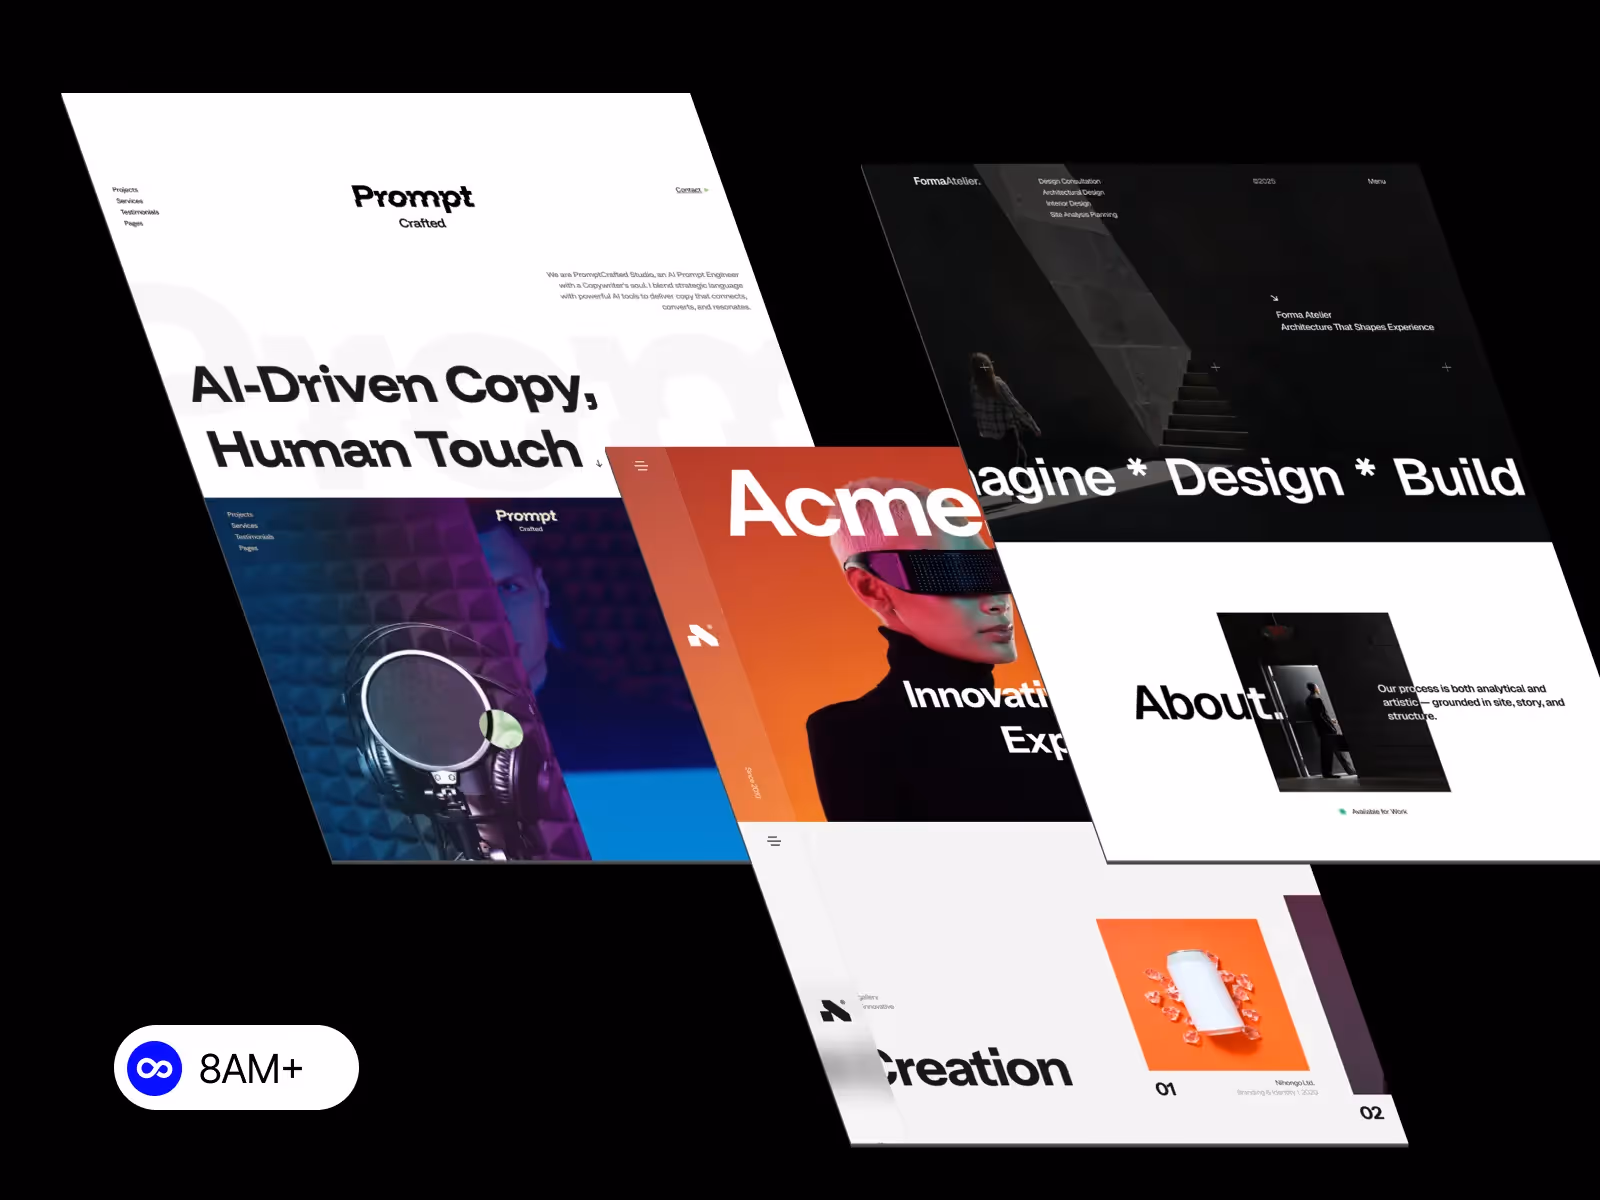
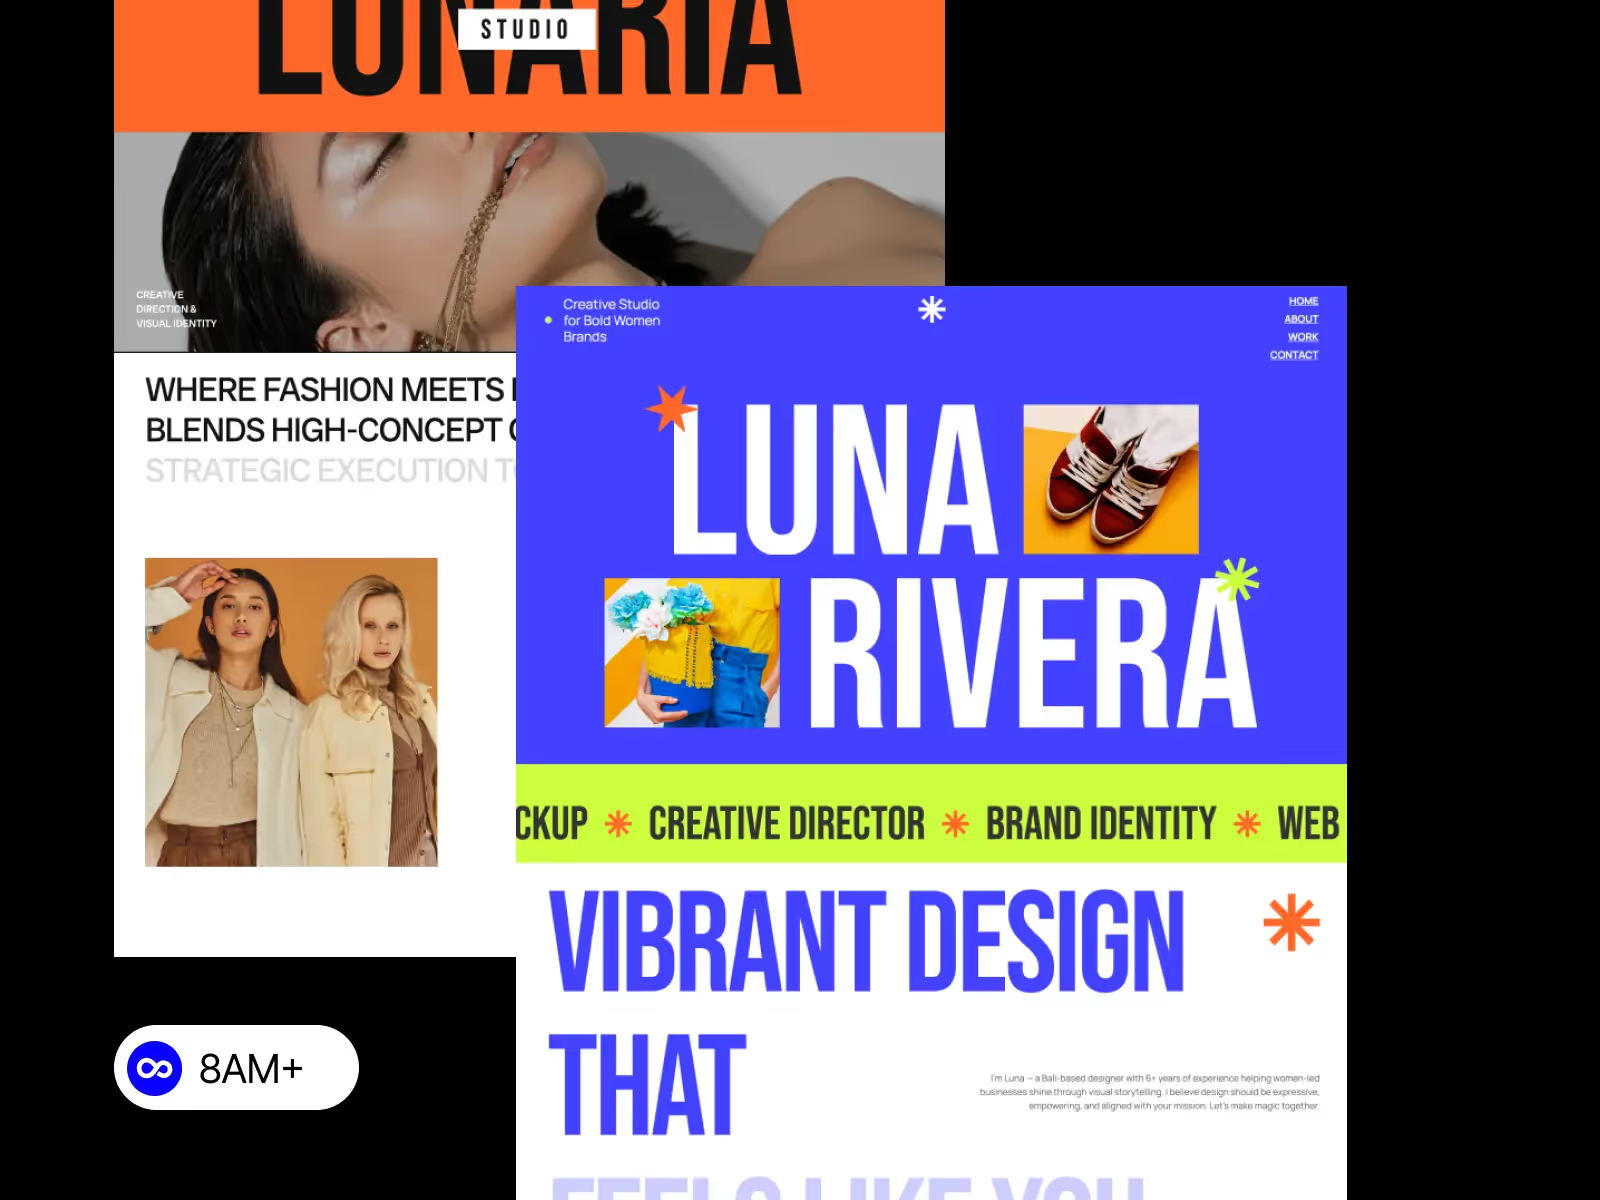
If you want to skip the setup and focus on your content, try ready-made Webflow templates from 8am.design. Templates already include CMS structures for portfolio or blog pages — perfect for beginners who want to start fast.


.svg)
.svg)