Step-by-Step Guide to Launch Your Portfolio Site with Webflow
November 3, 2025

If you’re a designer, developer, or creative professional, having a portfolio website is essential to showcase your work. The good news? You can now build and launch your own portfolio without coding — using Webflow. In this guide, we’ll walk you step by step through the process of creating, customizing, and publishing a stunning portfolio site that reflects your personal brand.

Step-by-Step Guide to Launch Your Portfolio Site with Webflow

1. Why Choose Webflow for Your Portfolio

Webflow is one of the most powerful no-code website builders, combining design freedom with production-ready hosting.
Here’s why Webflow is perfect for your portfolio:

  • 🎨 Design without limits: Create a unique layout that truly represents your style.
  • ⚙️ Built-in CMS: Manage and update your projects easily.
  • 🚀 Fast performance: Optimized hosting and responsive design by default.
  • 💼 Professional results: Showcase your work like a pro—no developer required.

2. Plan Your Portfolio Structure

Before you start designing, think about what to include. A good portfolio should have:

  • Home page: Introduce who you are and your creative focus.
  • About page: Tell your story and career background.
  • Projects page: Highlight your best works with visuals and descriptions.
  • Contact page: Make it easy for clients or recruiters to reach you.

💡 Tip: Write short, clear copy that emphasizes your unique strengths and style.

3. Choose a Webflow Template

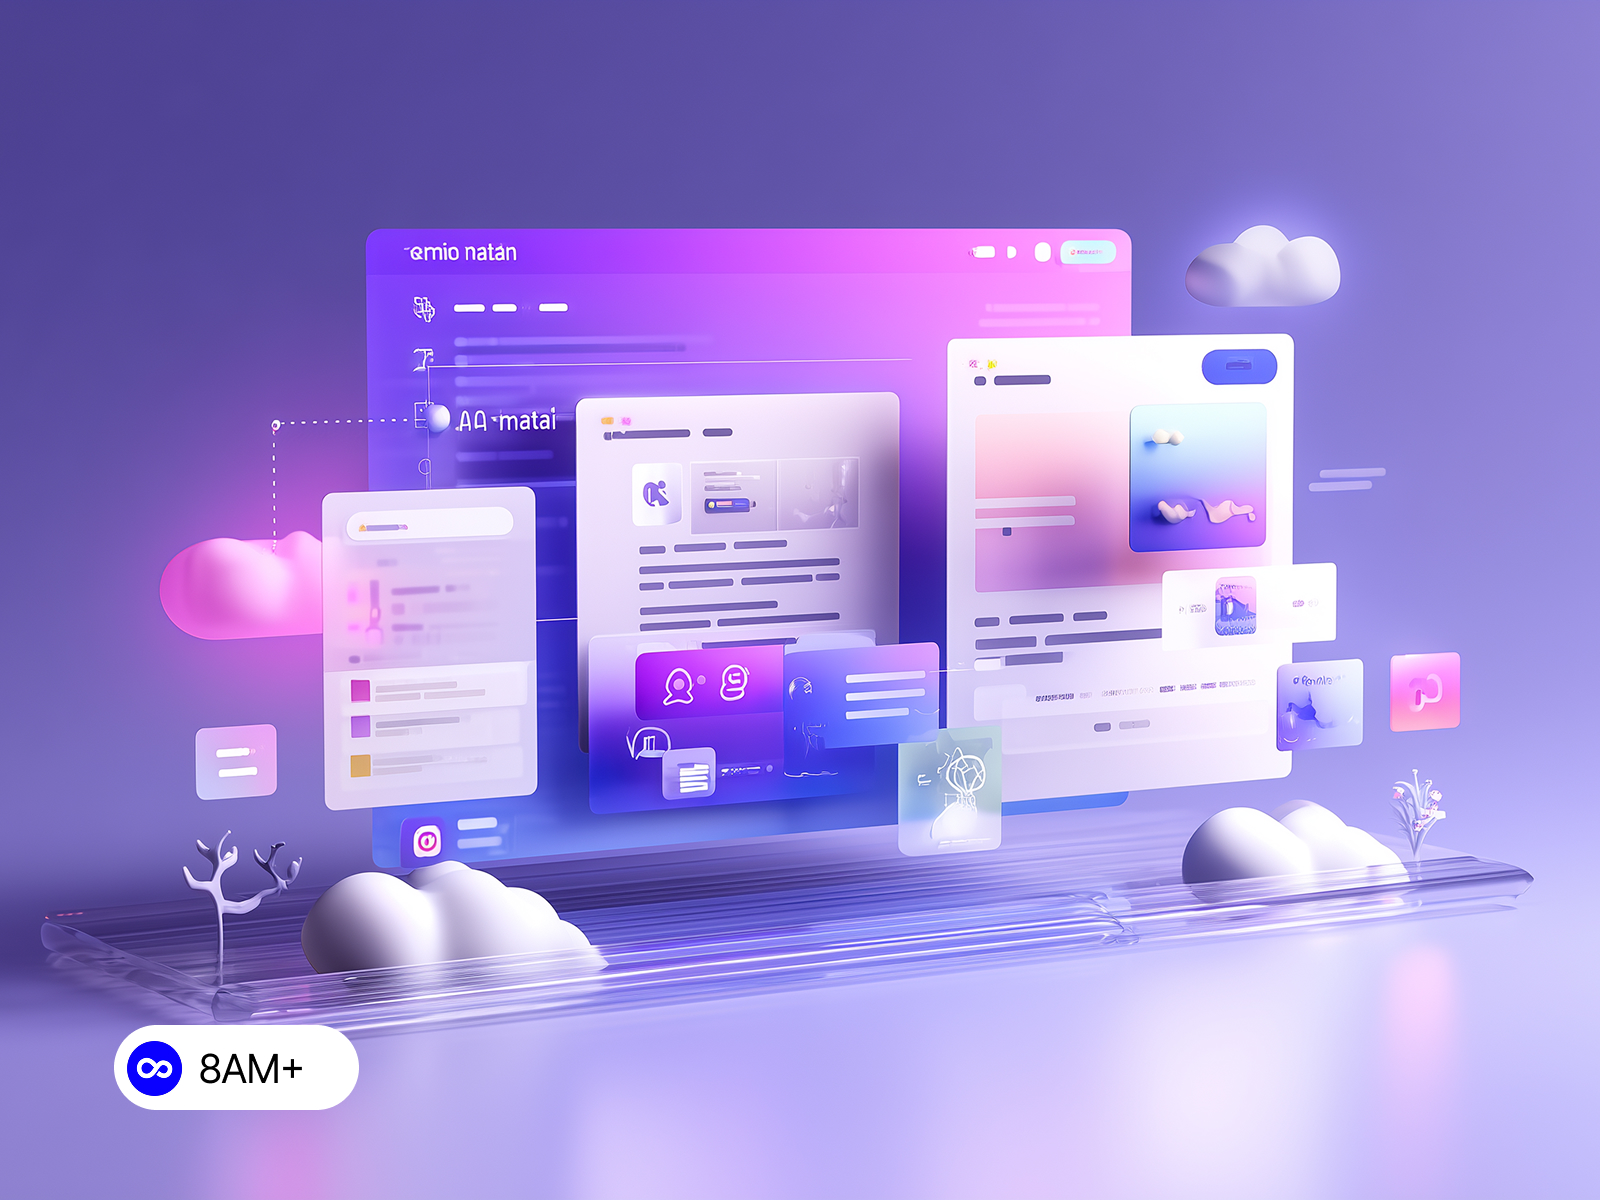
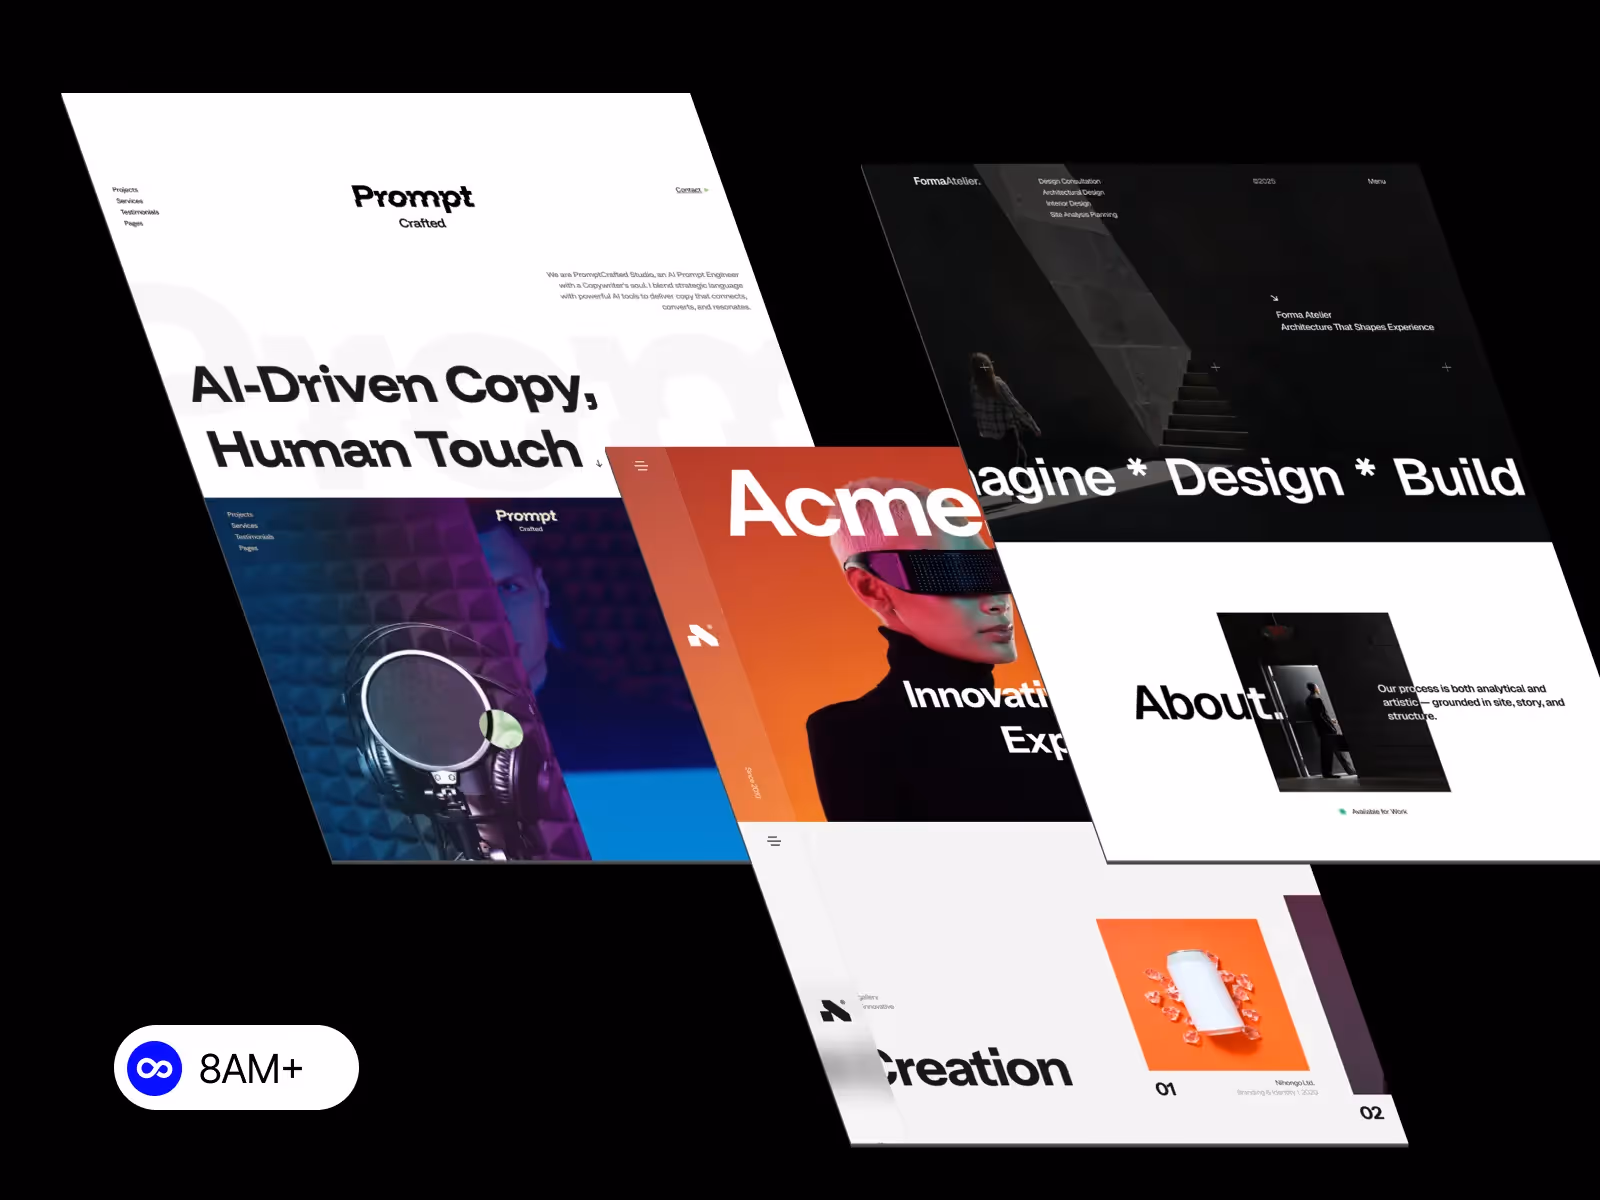
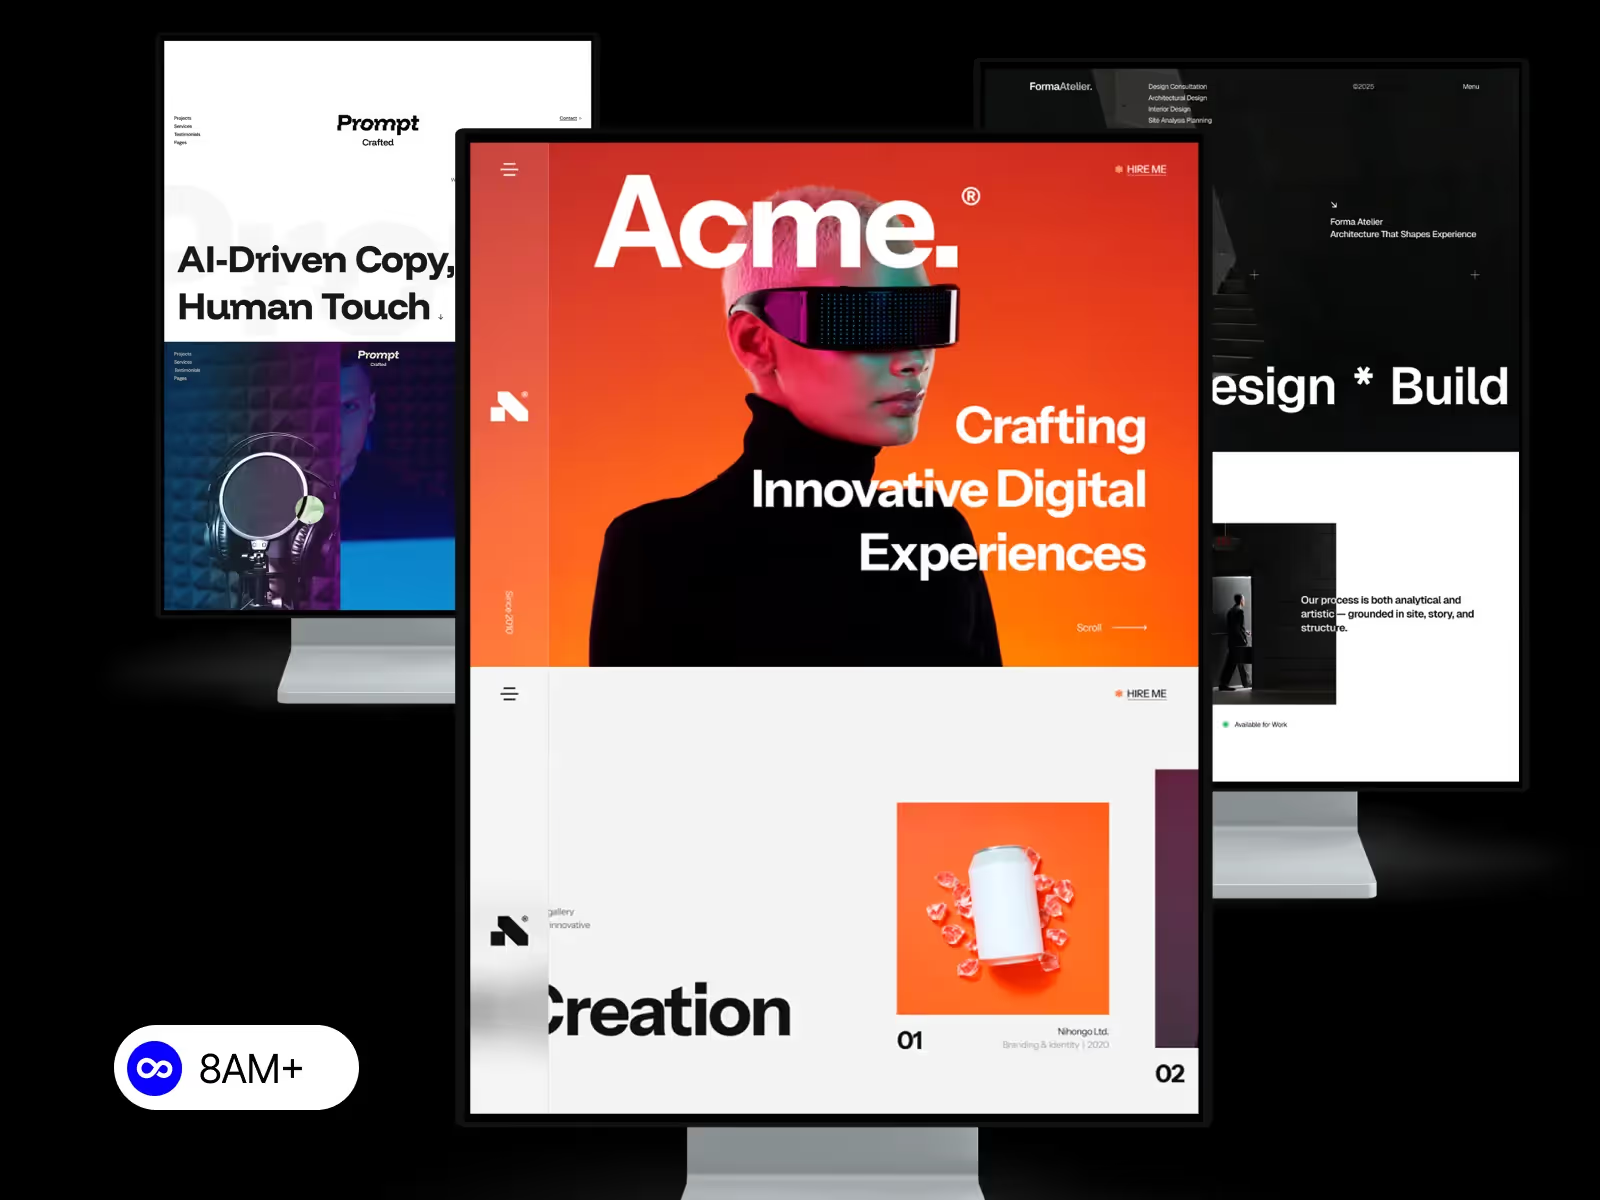
Instead of building from scratch, start with a ready-made Webflow template that fits your style — minimalist, modern, or bold.
You can explore designer-made templates from 8am.design crafted specifically for creative portfolios, agencies, and freelancers.
Templates save time and ensure your site is mobile-responsive and SEO-ready from the start.

4. Customize Your Design

Once your template is ready:

  1. Open it in the Webflow Designer.
  2. Replace text and images with your own content.
  3. Adjust colors, fonts, and layout to match your personal branding.
  4. Use Symbols and Components for consistent design across all pages.

💡 Pro Tip: Stick to a limited color palette and consistent typography for a clean, professional look.

5. Add Your Projects Using CMS Collections

Webflow’s CMS makes it easy to manage your work dynamically:

  • Go to the CMS Collections panel.
  • Create a new collection called “Projects.”
  • Add fields like project name, category, image, and description.
  • Bind your collection items to your template’s project layout.

This lets you update or add new projects anytime—without editing the design.

6. Optimize for SEO

To make your portfolio discoverable:

  • Add proper meta titles and descriptions to each page.
  • Use descriptive alt text for images.
  • Link to your social media and portfolio directories (like Behance or Dribbble).
  • Enable Webflow’s automatic sitemap and SSL for better Google ranking.

💡 SEO Tip: Include your profession and location in your titles, e.g. “UI Designer Portfolio – Jakarta.”

7. Publish Your Website

After customizing your content:

  1. Go to the Publish button in Webflow.
  2. Choose to publish on a free Webflow subdomain or connect your custom domain (e.g., www.yourname.com).
  3. Webflow automatically handles hosting, SSL, and site optimization.

Your portfolio is live! 🎉
You can now share it with potential clients, include it in your resume, or showcase it on social media.

8. Keep Updating Your Portfolio

A great portfolio evolves with your career. Keep it fresh by:

  • Adding new projects regularly.
  • Updating your bio or experience.
  • Writing short blog posts about your design process or case studies.

Conclusion

Creating a portfolio site with Webflow is fast, flexible, and empowering. With the right template and a bit of customization, you can build a personal website that highlights your work beautifully — no coding needed.

Start exploring modern Webflow templates from 8am.design and launch your professional portfolio today.

Stay ahead with our newest design stories, tutorials, and creative strategies.

More Articles