Migrating your website to Webflow can completely transform your online presence — but without the right SEO strategy, you could lose valuable traffic overnight. This Webflow SEO Migration Checklist helps you move your site safely while maintaining your search rankings and performance. Start with a complete SEO audit of your current website. Export your URLs, meta titles, and backlinks so you know what to preserve. Then, plan your URL structure carefully — consistency matters. If your URLs must change, prepare a full 301 redirect list to protect your SEO authority.
Migrating your website to Webflow is an exciting move — you get a modern, flexible platform with beautiful design control and no need for plugins. But if you’re not careful, you could lose valuable SEO performance in the process.
Whether you’re switching from WordPress, Wix, Squarespace, or a custom site, this Webflow SEO Migration Checklist will help you keep your rankings safe and your content optimized.
Before you move anything, run a full SEO audit of your current site.
Export all URLs, meta titles, descriptions, and backlinks. You can use tools like Ahrefs, Screaming Frog, or Google Search Console to find which pages currently perform best.
🟢 Goal: Know exactly what content and URLs to preserve.
Consistency is key. If possible, keep your URLs the same as your old website. If they must change, prepare a 301 redirect list.
🟢 Pro Tip: Avoid unnecessary changes — every redirect risks losing link equity.
Once your site structure is ready, head to Project Settings → Publishing → 301 Redirects in Webflow.
Map each old URL to the new one carefully to prevent 404 errors.
After migration, double-check that every page has:
Webflow automatically generates a sitemap and robots.txt, but you should verify them in your project settings.
Submit the sitemap manually to Google Search Console for faster indexing.
Don’t forget your Google Analytics, Search Console, and any pixel tracking codes.
Add them under Settings → Integrations to continue tracking traffic and conversions.
Once you publish, check Google Search Console regularly for crawl errors and performance data.
Compare pre-migration vs. post-migration metrics for at least two weeks.
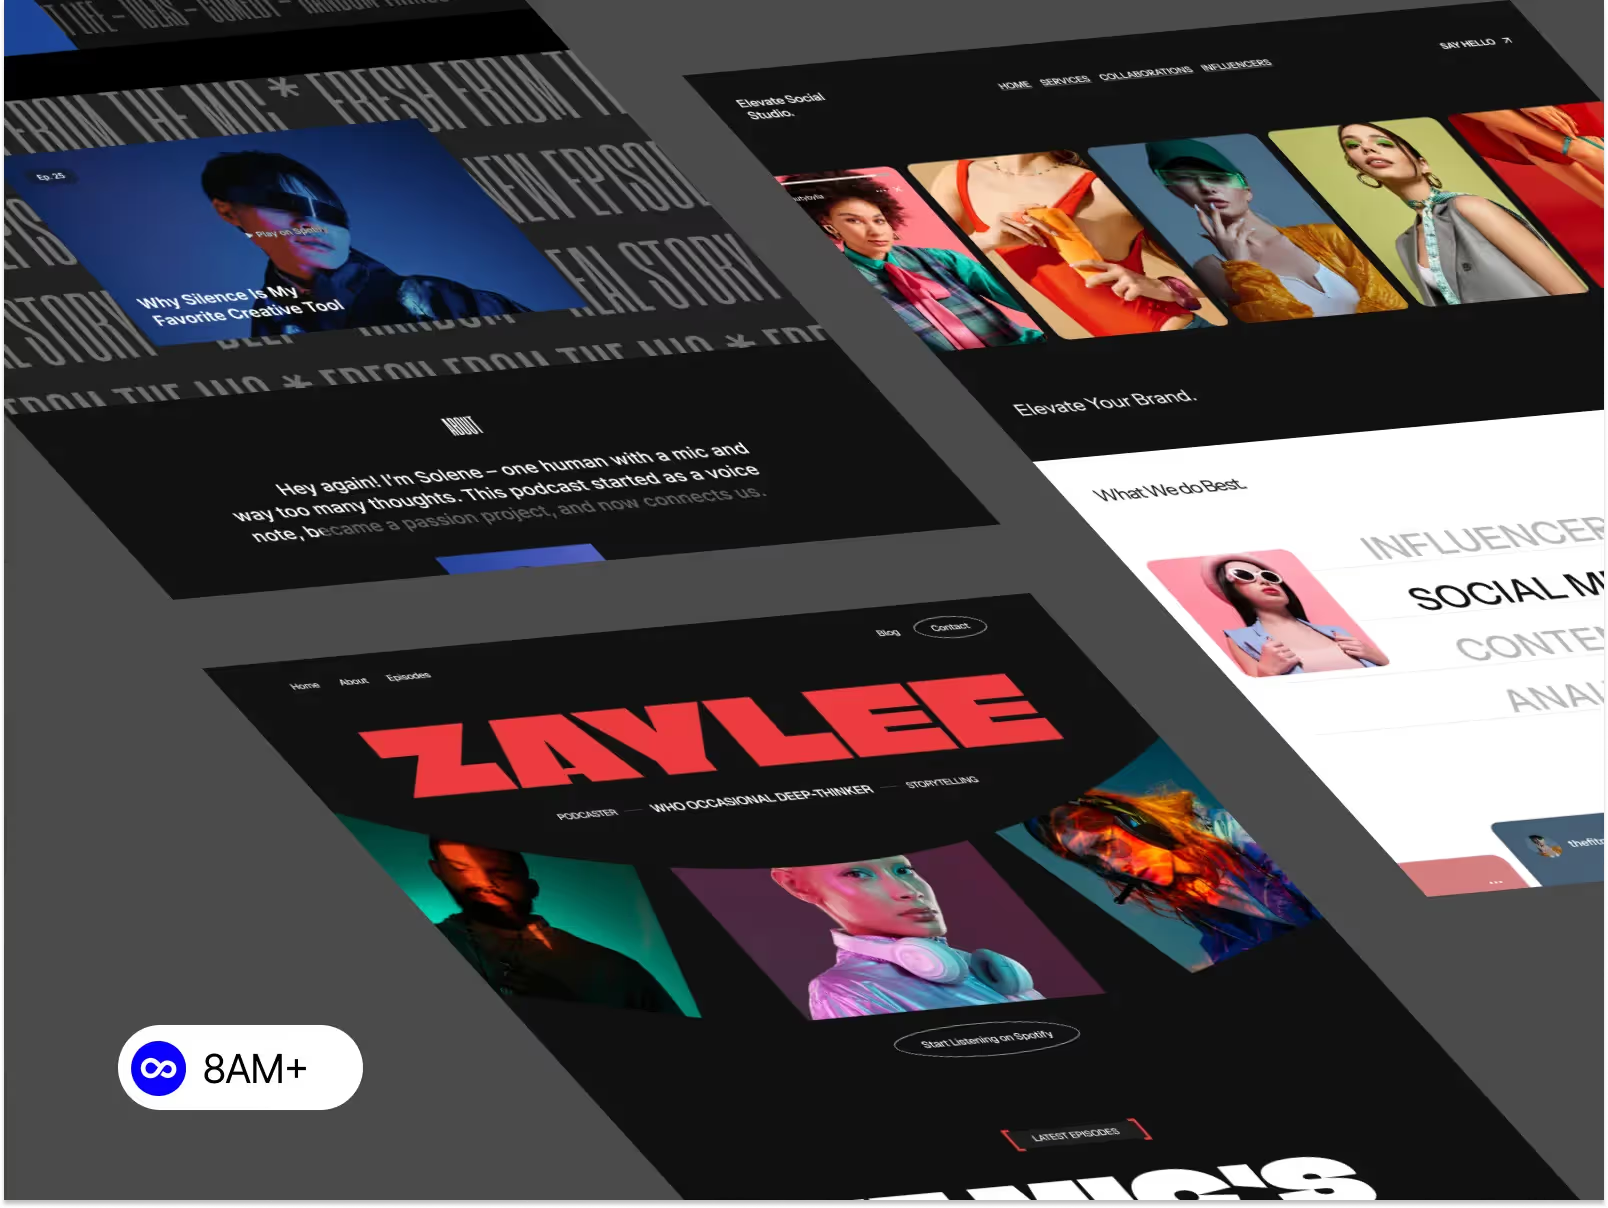
If you’re starting fresh, use templates built with SEO in mind.
At 8am.design, you can find Webflow templates like Formalier, Acme, and PromptCrafter — all designed with clean structure, optimized headings, and fast loading speed, helping your portfolio or business site rank better from day one.
Migrating to Webflow doesn’t have to mean losing SEO traction. With a careful migration plan — backed by redirects, structured content, and solid testing — you can enjoy all the benefits of Webflow’s design freedom and keep your hard-earned rankings intact.
💡 Ready to move? Bookmark this Webflow SEO Migration Checklist and explore templates from 8am.design to start your site the smart way.


.svg)
.svg)